
In this lesson we will learn how to add employees in the online database, import clients, distribute clients among managers as well as draw out an invoice and export data.
Adding new employees
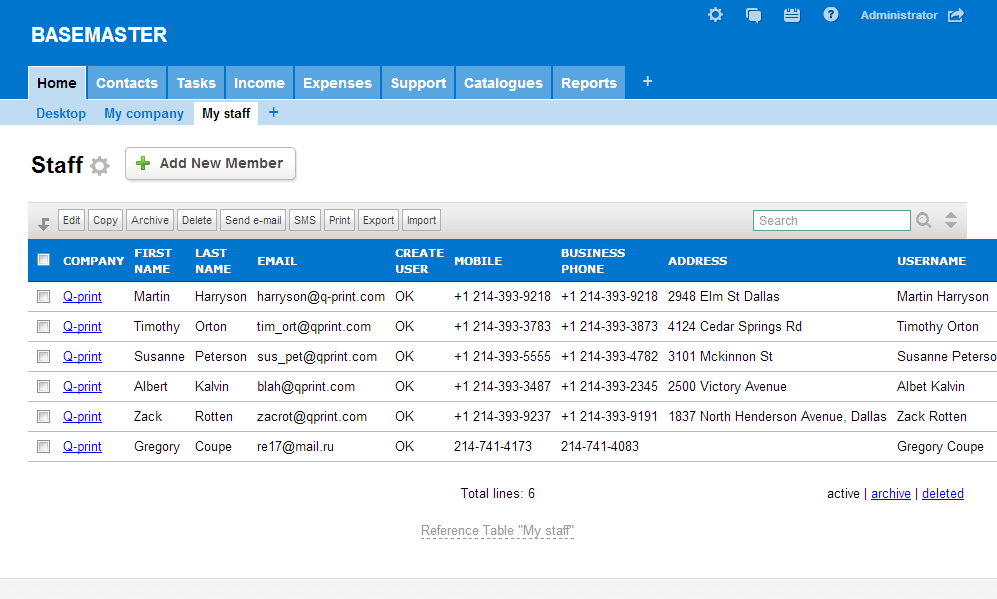
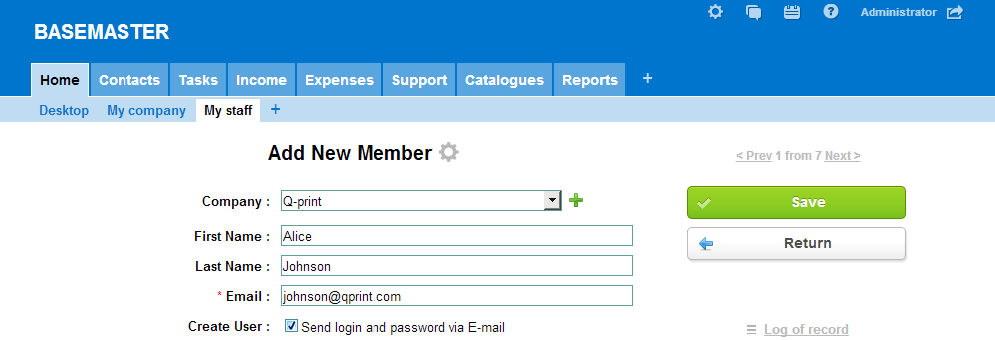
If you are reading this, then you are likely to know how to add new records to the table. So, let’s practice it and add a new record to the table My staff. Click the button Add New Member.
If an employee should have access to the program, it is necessary to assign an access group in the relevant field as well as a login for signing in. Once the employee’s data are saved in the table, a new user will be created in the system. If your system is linked to SMTP-server, the employee will get an e-mail containing and invite to the program as well as data for the authorization (login and password). If it is necessary to restrict the access of an employee to the program, just leave the field Access group empty.
Importing data about clients
After we added all managers who will be working with the program, it is time to complete the online database about clients of our company. When adding new rows to the table, follow the same procedure as in case with the employees. But it is possible to speed up the process.
Probably, you already have a table containing data about clients. Like this, for example:
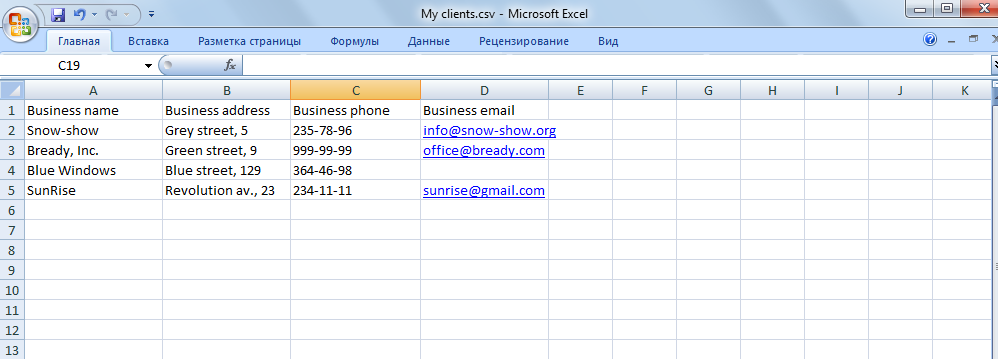
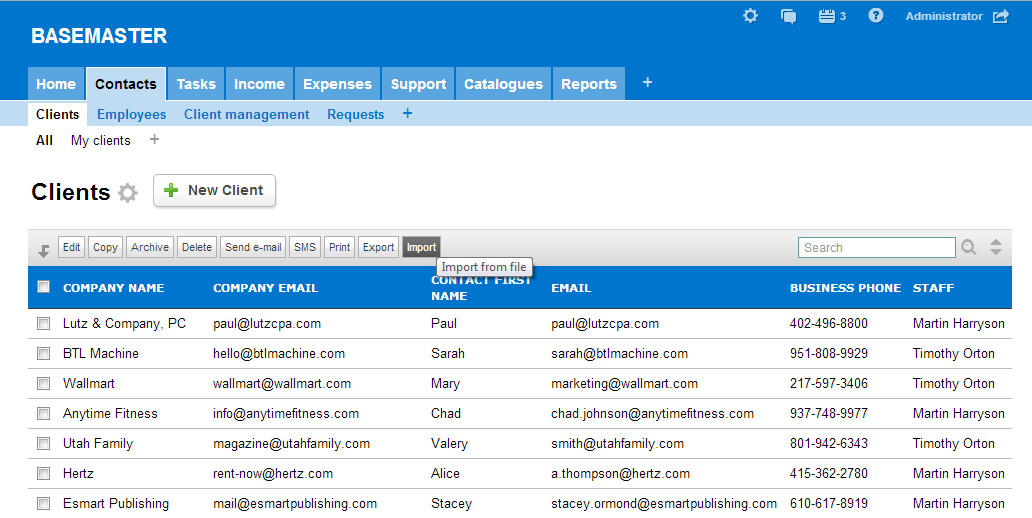
In this case you can simply import the data instead of entering it manually. First of all, prepare a file for import. To do this, open this file in table editor and resave it in *.csv or *.tsv. After it, open Clients table and click Import button.
Specify the name of the file from which the data is imported. Once you do it, you will see a window where you can match fields of imported table with those of Clients table.
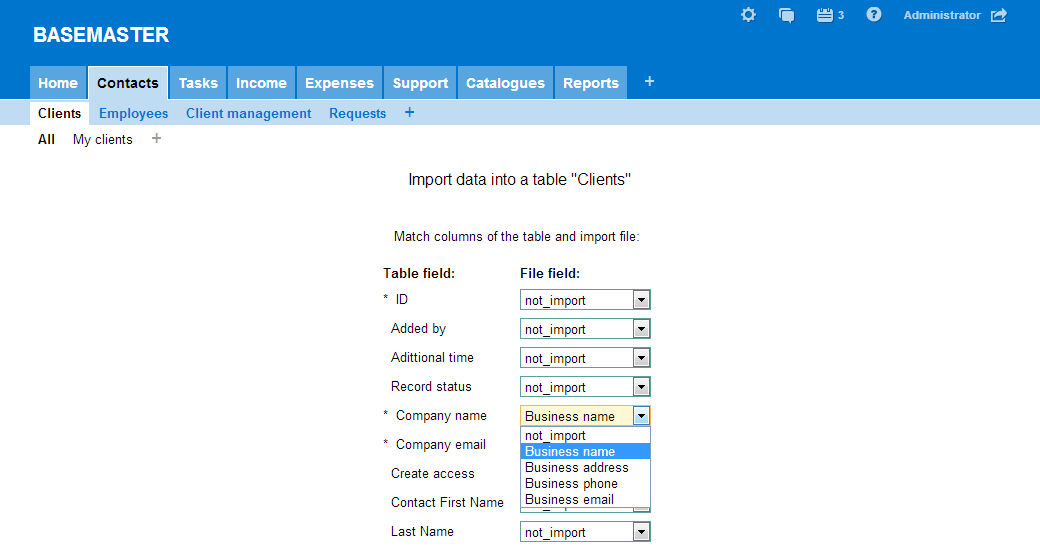
If you see a sequence of strange symbols in the drop-down list which is supposed to show you the column in the file, change the encoding of the imported file in the bottom of the window. You can also select a white-space character used in the file. In this example we used "Windows 1251" as a character encoding and ";" as a separating char.
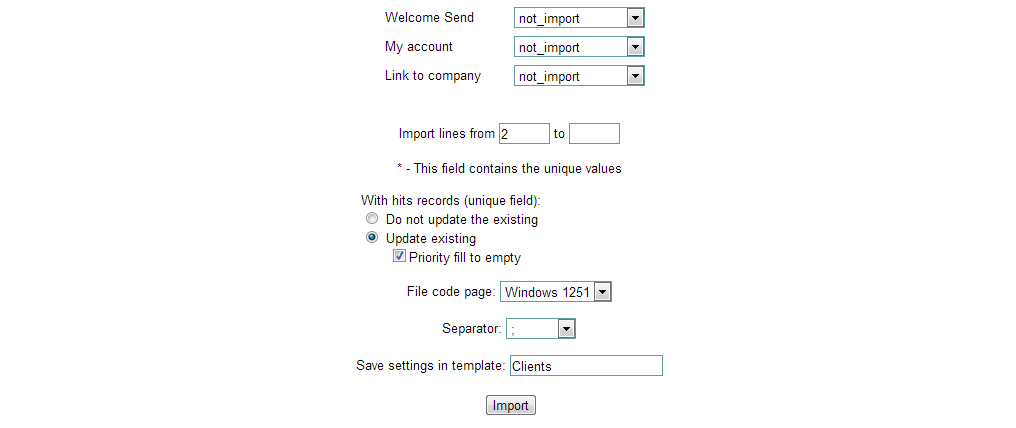
During the import procedure is it important to know how import new records if they are identical with already existing. If there is a field in the table whose value must be unique (this parameter is set in field settings), it is necessary to specify whether or not the existing record should be overwritten during the import in case the imported file contains a field with the same value. In other words, if we take our example, it should be clear whether or not the information about already existing client must be changed if the imported file also contains certain information about it. If the records should be updated during the import, you should specify whether or not the completed fields will have a priority status other empty ones. If you put a tick here and import a record with empty fields, all completed fields in the already existing record will keep their values unchanged.
After you set all parameters of the uploaded file, click Import button. Once you do it, all your client data will be in the program. Open the table and check the result. If there the data were imported incorrectly, delete the imported rows, adjust the import parameters and try to carry out import again.
All settings you set are saved in the template of the online database.

Next time you import data from this file in the same table, you can use sample. Just click Upload and the data will be imported.
Distributing clients among managers
Once you added the companies, you should distribute them among managers. Select the company and open it for editing. In Staff field select the manager a company must be assigned to.
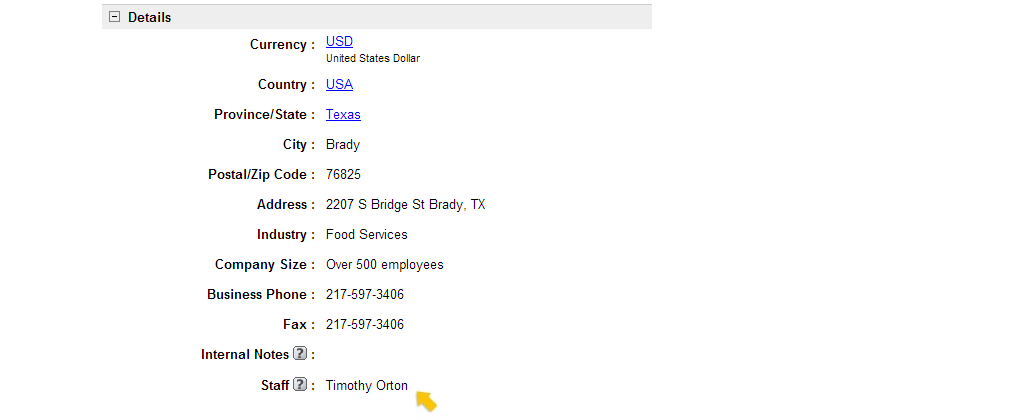
Click Save and then Return to table. Follow the same steps to assign other companies to managers.
Preparing invoices
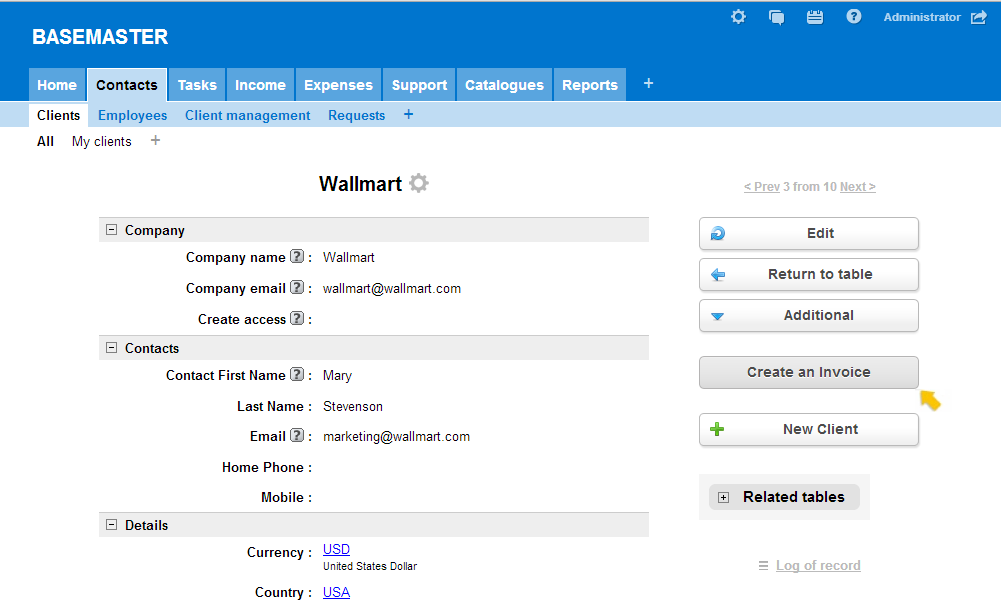
Now that you have your own client database, it’s time to earn money and issue invoices for it. There are two ways to prepare an invoice: the first one is to open a client’s profile and click Create an invoice.
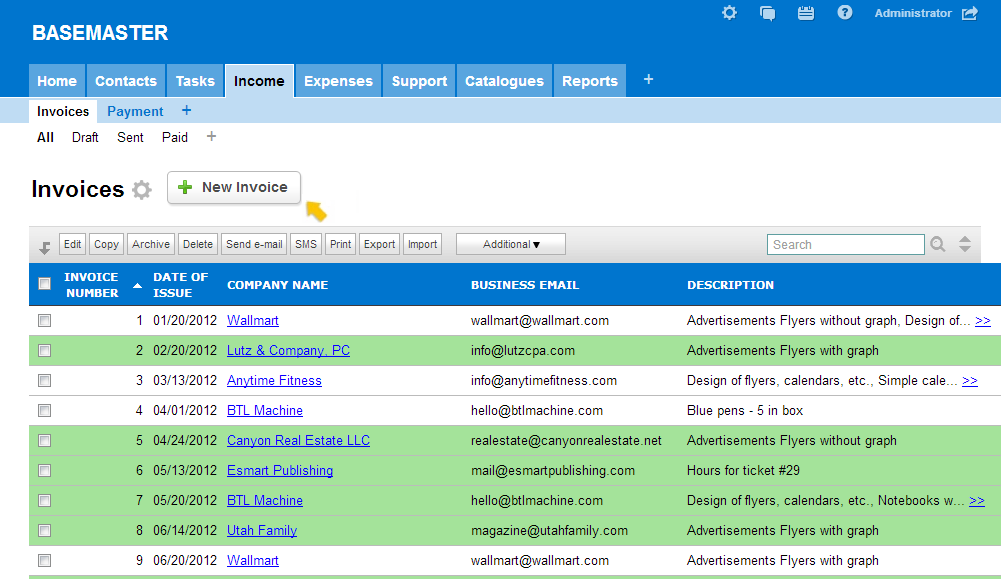
The second one is to open Income category then Invoices table and click New invoice.
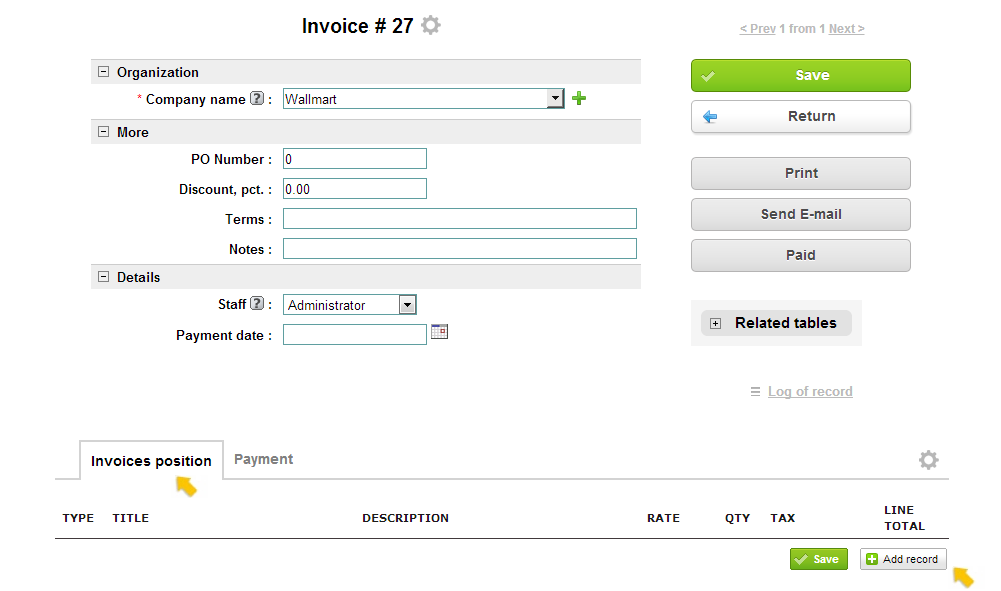
Once you prepared an invoice, you should add different items to it. To do it, click Add record in Invoice items table.
Here you should decide how to add items: manually or using already existing Items in Catalogues category. If you do it manually, just specify the quantity and price of goods and/or services. The total amount will be calculated automatically.
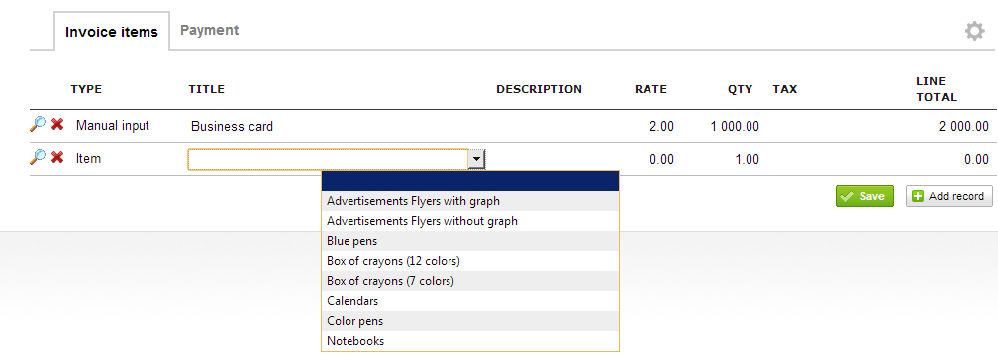
After it click Save. Now you may print out the invoice or send it via e-mail, by clicking Print or Send Email respectively.
Sometimes you may need to export data from the program. For example, if you have to print out a register of invoices for a particular period of time. To do it, just click Export. Before this, you can mark the records you are going to export.
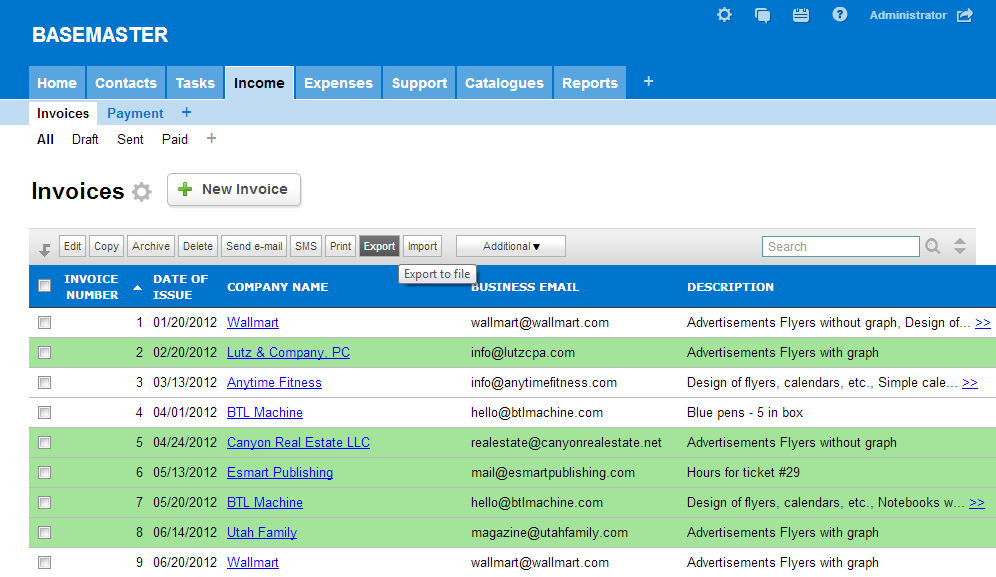
The browser will ask you to save SCV-file. It can be opened in any table editor.
So, today we learned how to add new employees, import and export data to and from tables, and prepare and issue invoices. Next time we will study mail-out.
Home task:
1. Note, that when you are viewing a client’s record in Clients table, there are 2 subtables at the bottom: Work with client and Client’s employees. Add records to these tables, following the same steps as in case with adding items to the invoice.
2. Practice working with Tasks table, Task category. Assign different tasks to your employees. You may specify the time allocated to complete the particular task, deadline, and priority. The employee you assigned a task to, will receive a reminder about it. By clicking to this reminder, the employee can set a reference point of working with a client.