
During this lesson we will learn how to mail out.
One of the most powerful features of our system is that you can mail out letters to multiple users at one time. But this concerns not only notifications about your special offers or news. This function allows you to personalize your mail-outs: just insert the relevant data in a letter from your client database. Let’s have a closer look at it.
Sending e-mails
Before we start, add preferences and settings to the e-mail which will be used for the mail-out. SaaS version already contains a default e-mail address.
1. Let's configure the mail server:
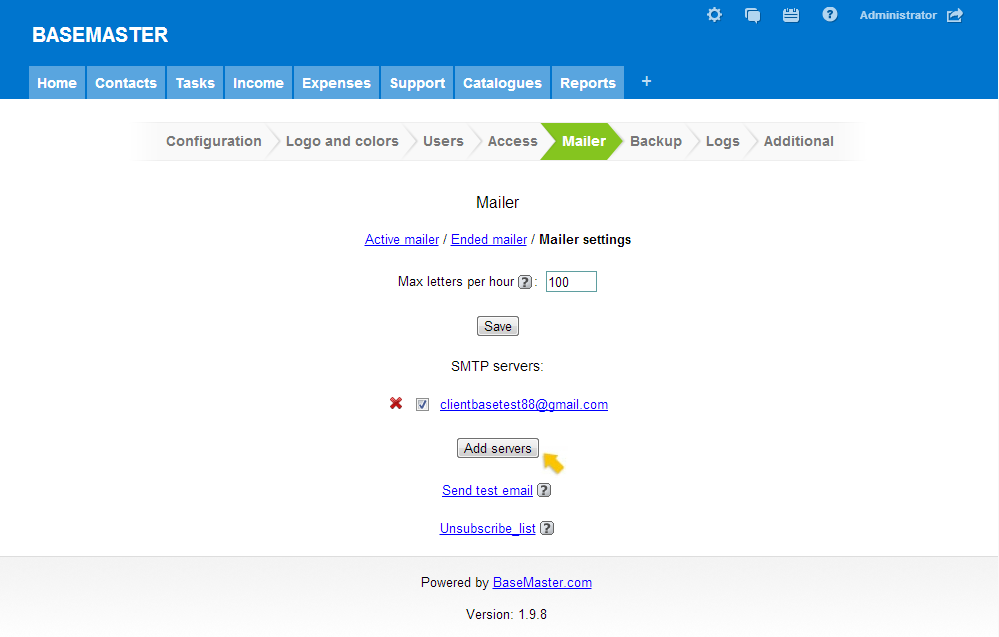
Open «Settings» (gear icon) - «Mailer»
Click «Mailer settings»
Here you may enter the information about the e-mail which will be used for the mail-out from the default server or you may add one or more servers for mail-out.
The majority of hosting providers prohibit the mail-out from external SMTP. In this case you can mail out letters only from internal SMTP-host. But if you have a web-version installed on your server, to perform mail-outs it is necessary to install the mail server on the work station where the program is running.
If you choose external SMTP, enter the server parameters:
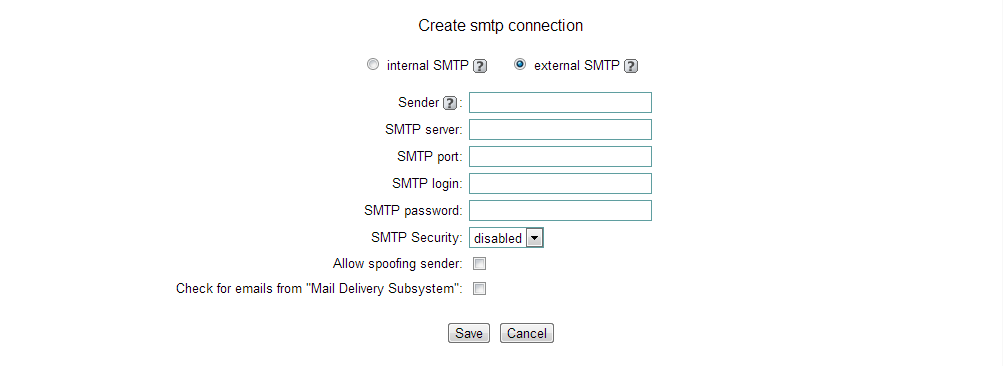
If you do not know the required parameters, you can find them out on your provider’s web-site. Once you add a new server, click the relevant button in the settings to perform a test mail-out.
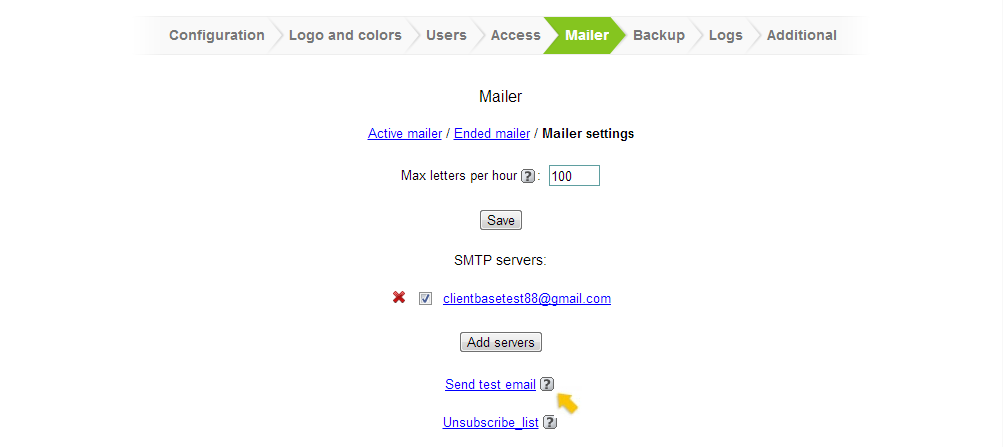
If the test is successful, we can get down to preparing a mail-out template.
2. Let's prepare mail-out template:
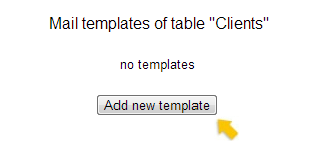
Open the table which will be used as a mailing list (for example, "Clients" table) and click the gear icon.
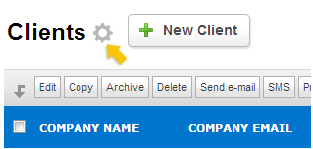
Click on the link "mail templates" and add a new template.
After it, specify the name of the template for the employees, topic of the letter seen to the recipients, as well as prepare a text (template body).
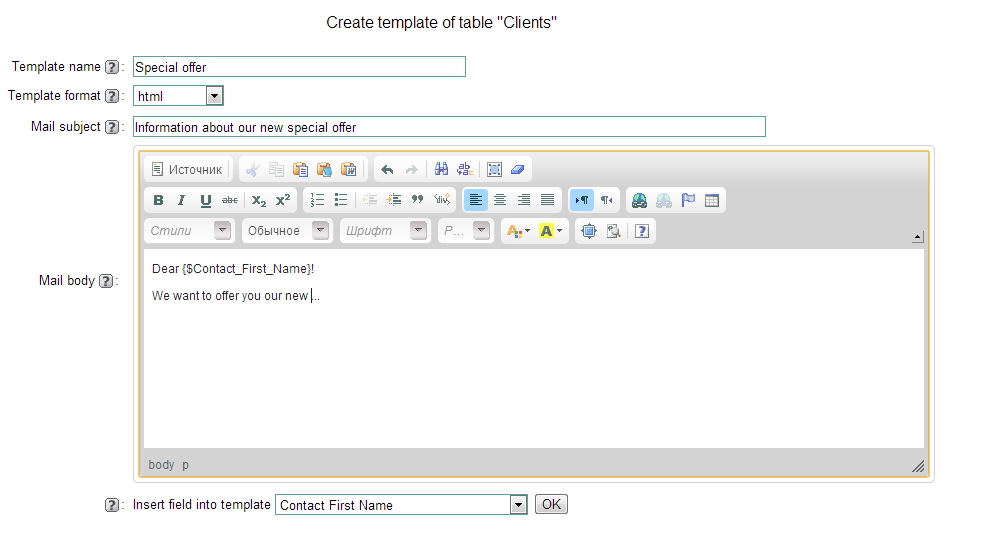
You can add information from the table to the template body. This allows to perform a personalized mail-out (just select the field you need from the drop-down list next to "Insert field into template"). Besides, if necessary, you can add some pics here (use the function "Insert image into template").
After we specify the field from which the recipient’s e-mail will be retrieved (for example, in Clients table this is Email field), as well as field which will contain the mail-out log (time and date of letters sent to a particular recipient). Besides, we have to specify the sender’s address seen by the recipients.
This e-mail can be different from the one you specified earlier in the mail-out settings. Thus, if the recipient wants to reply to your letter, he or she will see the address which is specified in Sender’s e-mail. However some mail servers can treat such an approach as fishing.
Once you make all the necessary changes, save your template. Now you can get back to Clients table, select the required client as well as the template, and send a letter.
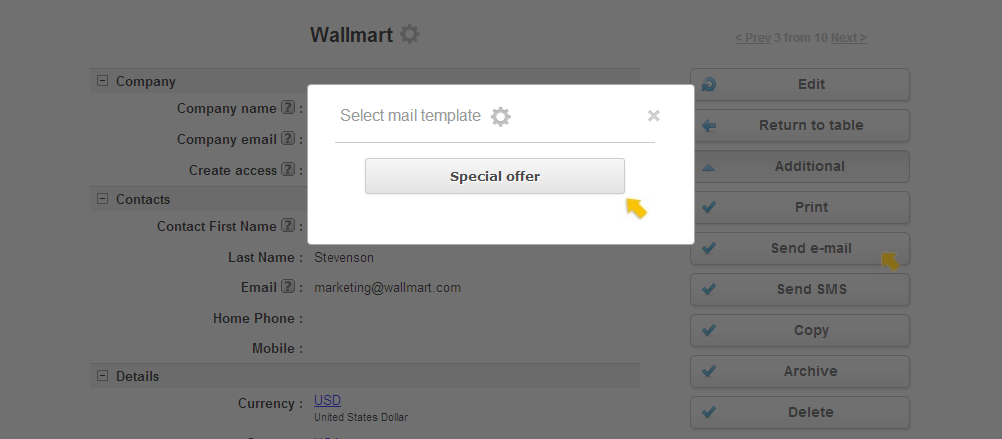
Once you click «Send e-mail» you will see a status window. If the mailing list is very large, do not close this window.
So we learned how to send emails to our clients. During the next lesson we will learn how to create a custom table.